The Beast
Trunk Mount Intercooler
(Note: This IC has now been removed from the Beast and has been
replaced by a refrigerated air/water intercooler. The information
has been left on the site to help those of you who need help in building
this type of system. The TMIC continues to be one of the best heat
sinks around. There is no doubt about it, the TMIC works very
well. My reasons for moving to a different system have more to do
with R&D and faster throttle response than any major shortcoming
of the TMIC system. The cost of a good TMIC is around $2200 if you
do much of the install. Good luck.)
For information of the New Refrigerated Air/Water intercooler system, see the new RAWIC page.
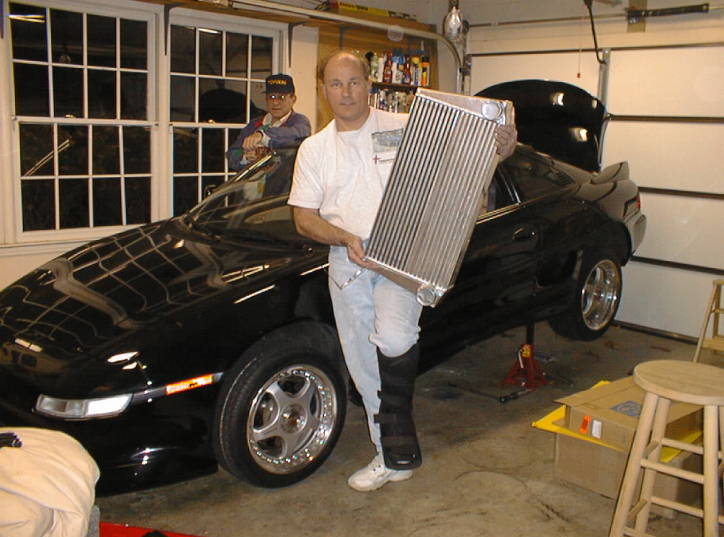
Fourteen hundred miles of
testing the engine modifications showed a weakness in the intercooler. The
Greddy intercooler would heat soak after one or two runs at high
boost reducing the engines power. Jim looked into several different
solutions discussing this with many IMOC members. He had been fascinated
with the Japanese trunk mounted intercoolers (TMIC) seen in HyperRev, vol.
21. After discussing the engineering with Spearco, IMOC
members, and others he made a decision to start the TMIC winter (Dec. 99)
project. The easiest way to get a project done is to start collecting
parts. Develop your plan and make it happen. This project has been a lot
of fun. I made templates for all the parts, bought the right tools, and
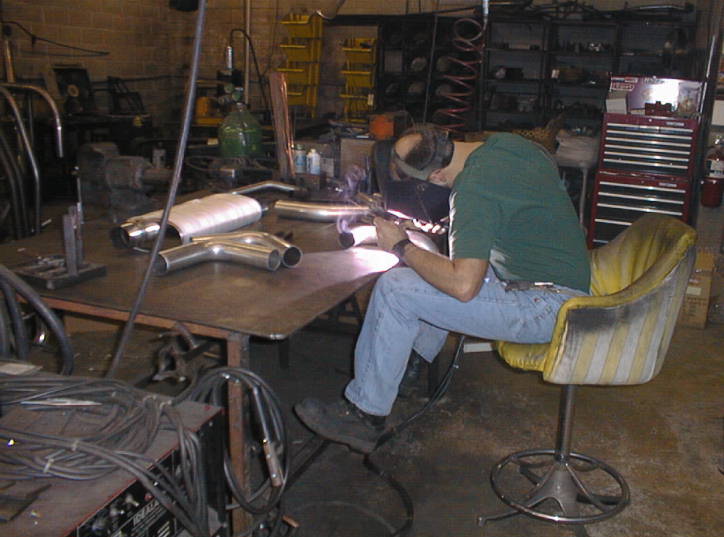
took my time. Having an excellent fabrication guy, Mark Stewart, really makes things go
smoothly. The results have been outstanding. The car will perform at max
power (limited to 20 PSI) with consistency.
Update: September, 2000
The original trunk mounted intercooler was modified to allow the use
of a Greddy PE exhaust system. The intercooler was raised 2 inches
and a custom heat shield and hot air exhaust duct was constructed from
aluminum sheet. A double pusher fan unit was mounted on the top of
the IC and a single SPAL puller was attached to the bottom. This
pulls air from the top scoop down through the IC and delivers it out the
bottom. 2000 degree heat reflective material is used between the
exhaust and the duct work. Separate fan switches operate the fans.
|
|
|
|
|
|
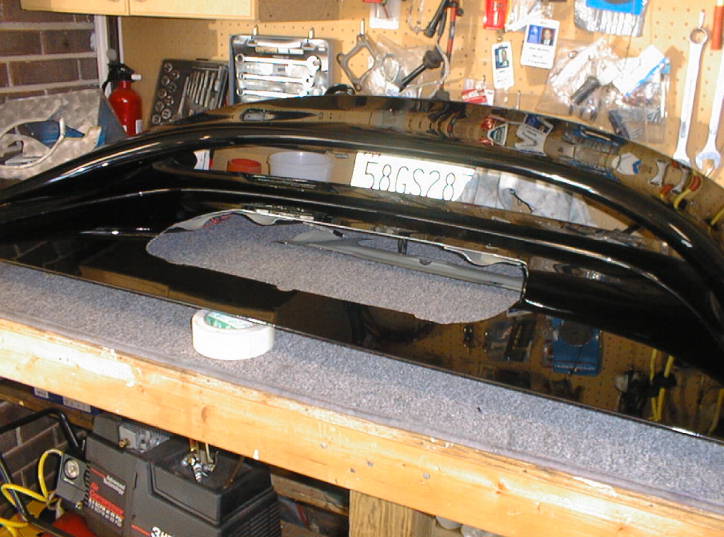
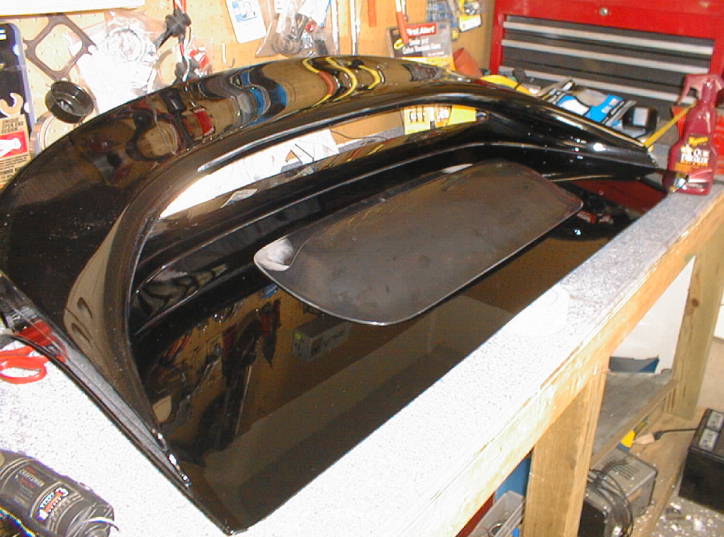
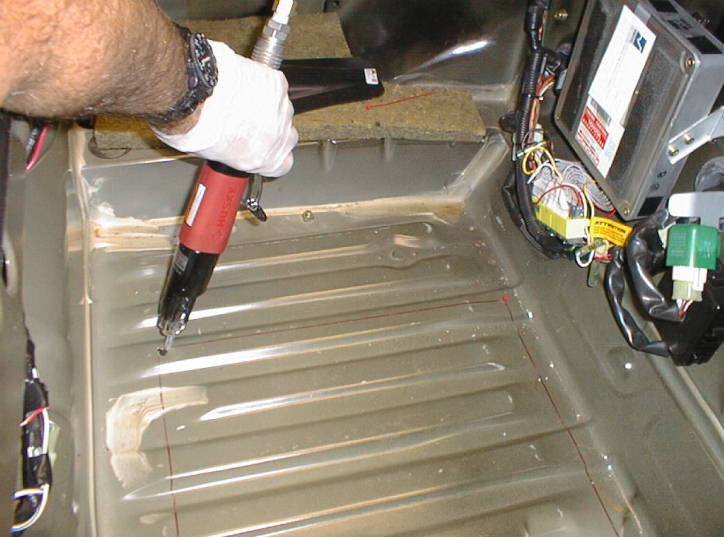
Cutting out the trunk bottom. The first cut is always the
hardest.
The air powered saw came from Lowe's Hardware ($99)
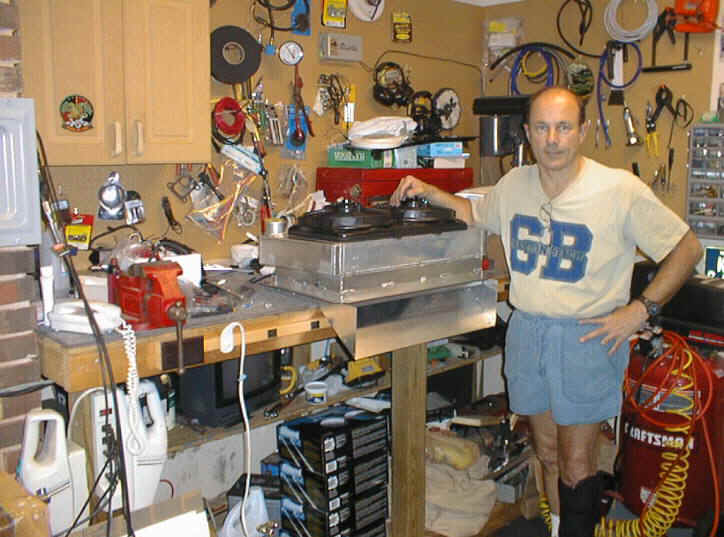
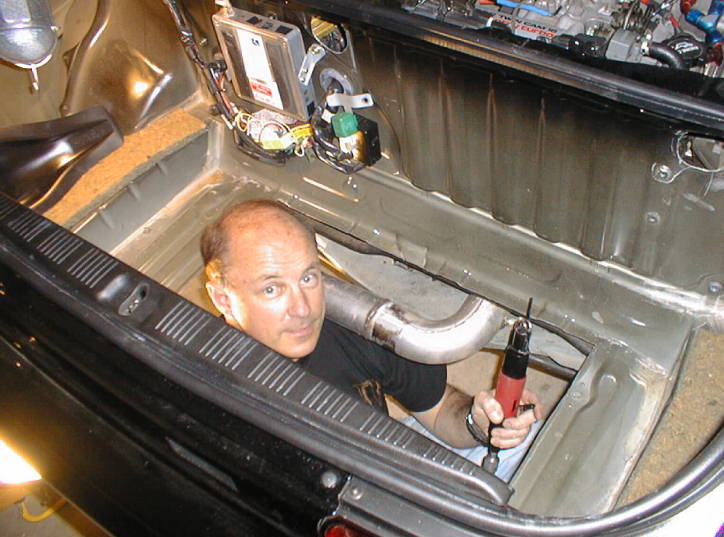
Fitting the intercooler (original photo)
Intercooler has recently been raised 2 inches to allow
room for heat shields and fans on bottom.

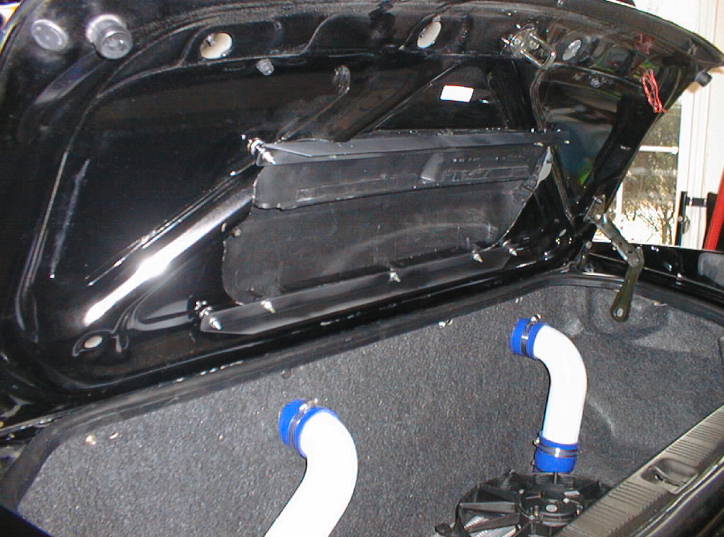
Intercooler hose flanges provide support to IC pipes and
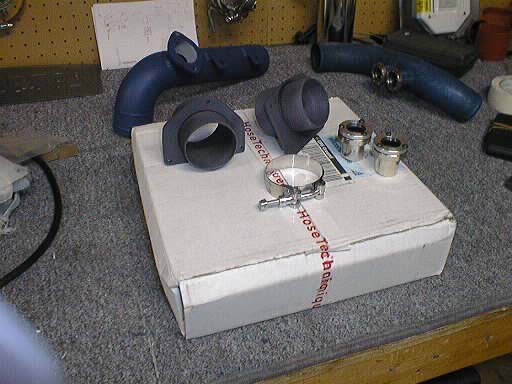
a place to attach "bump" hoses
|
|
|
|
|
|
|
|

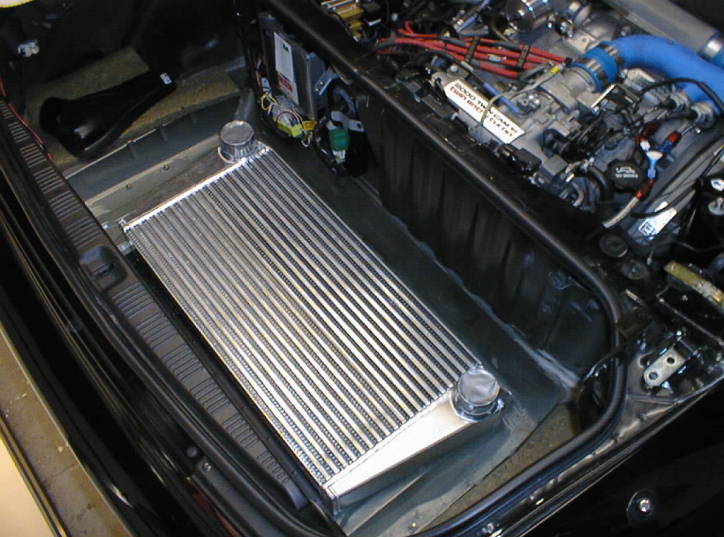
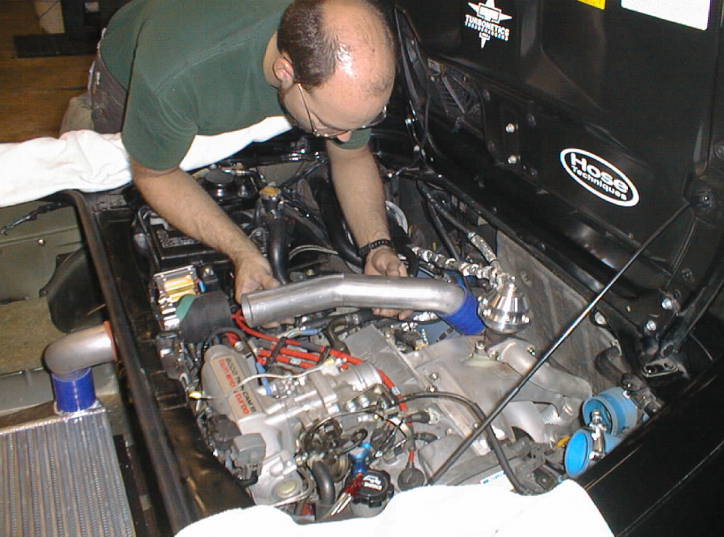
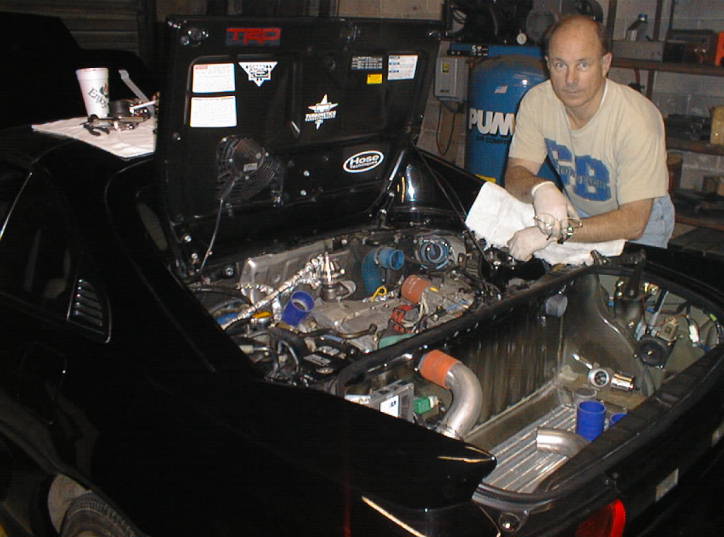
Overall installation
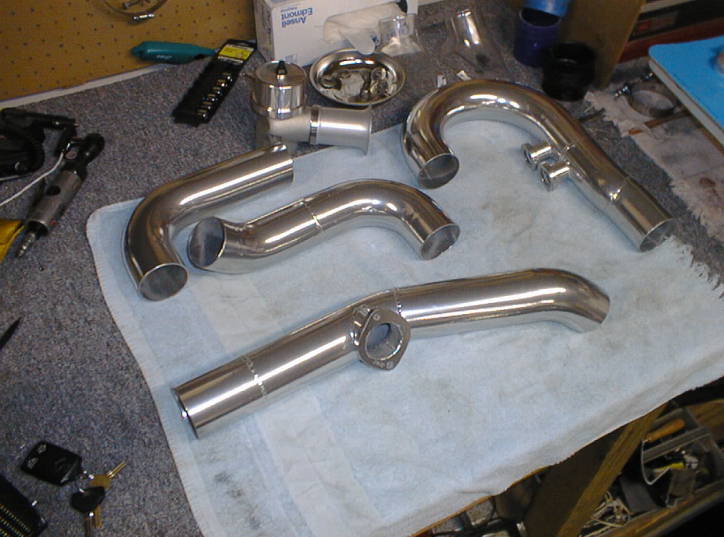
Jet Hot coated and polished intercooler pipes
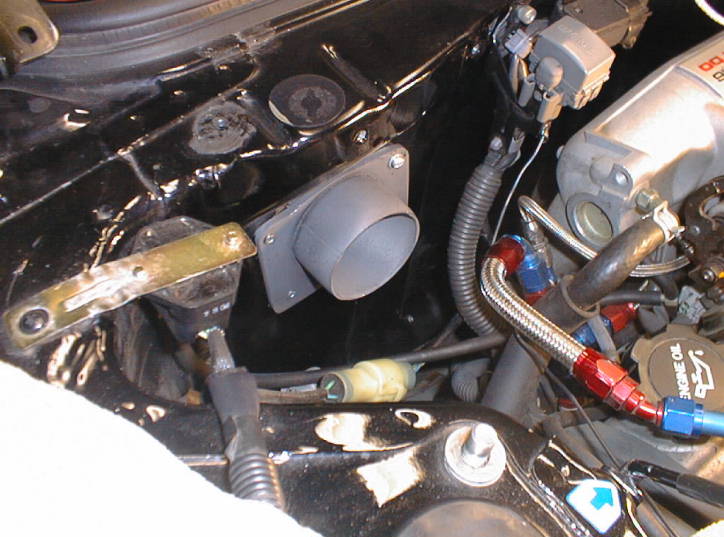
Flanges used to go through the Fire wall
_______________________________________
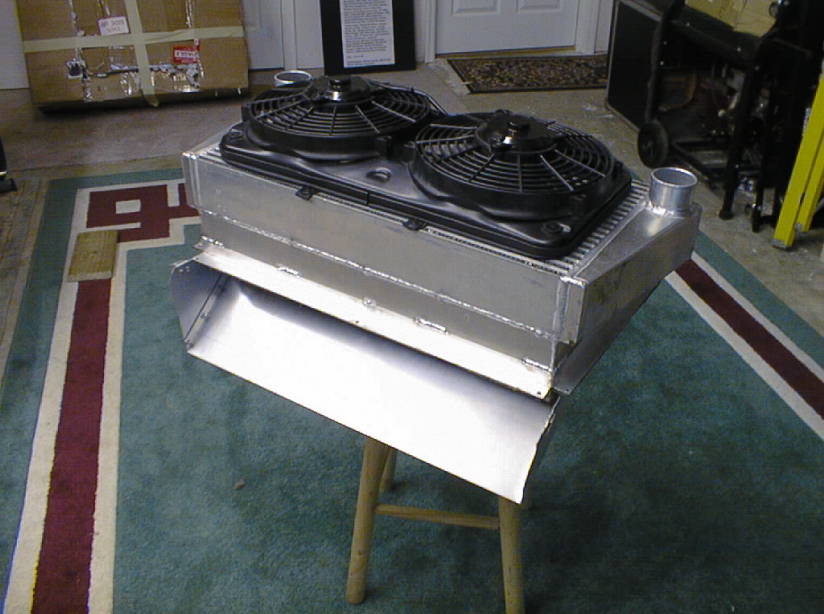
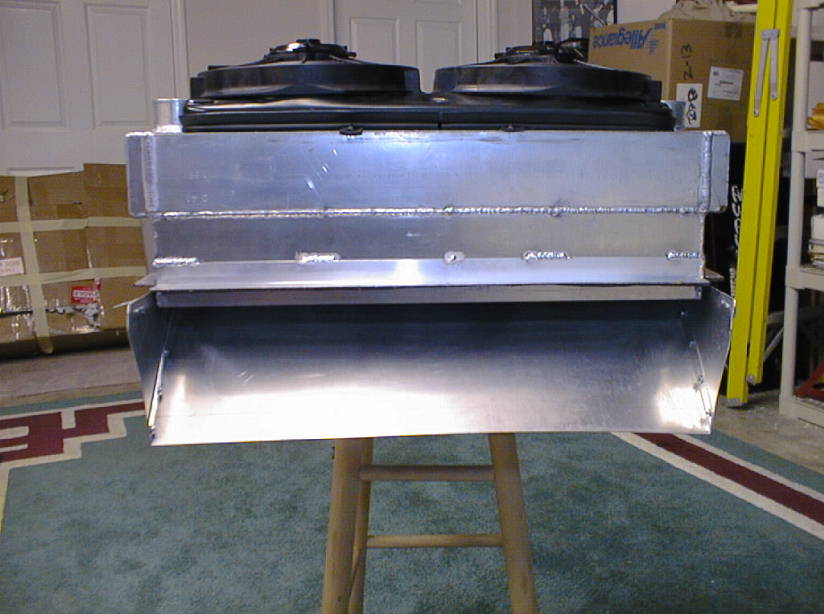
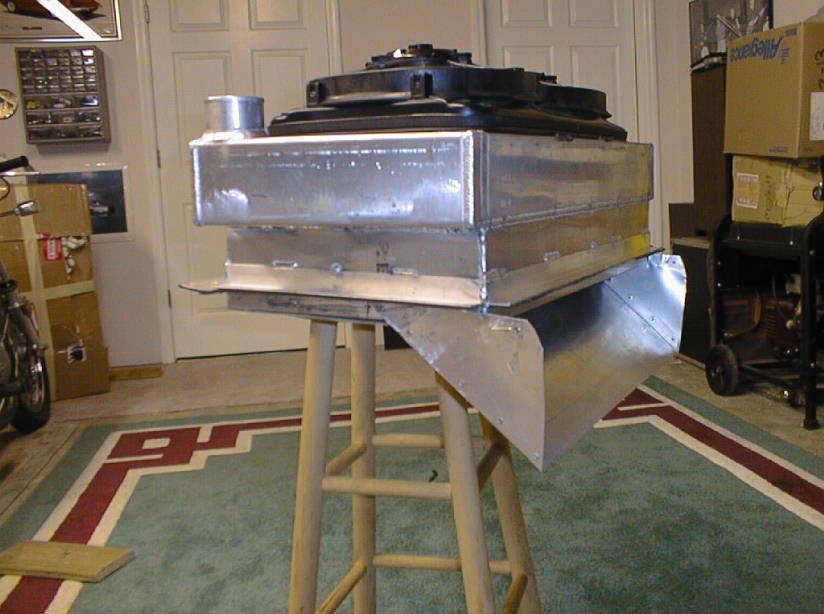
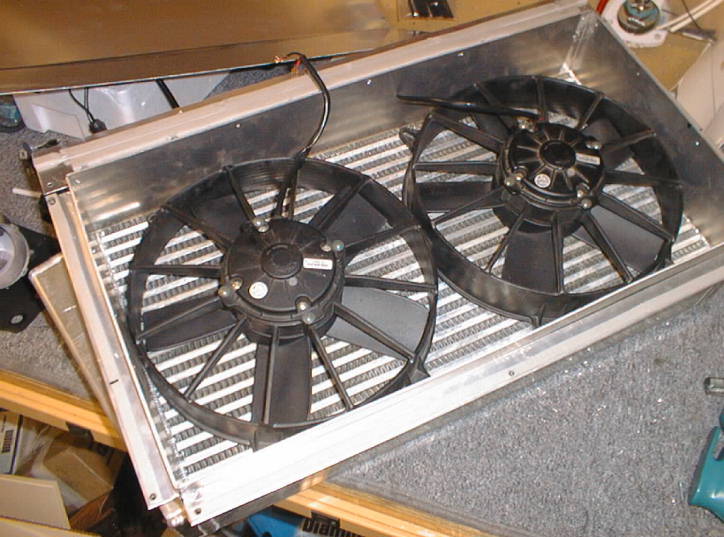
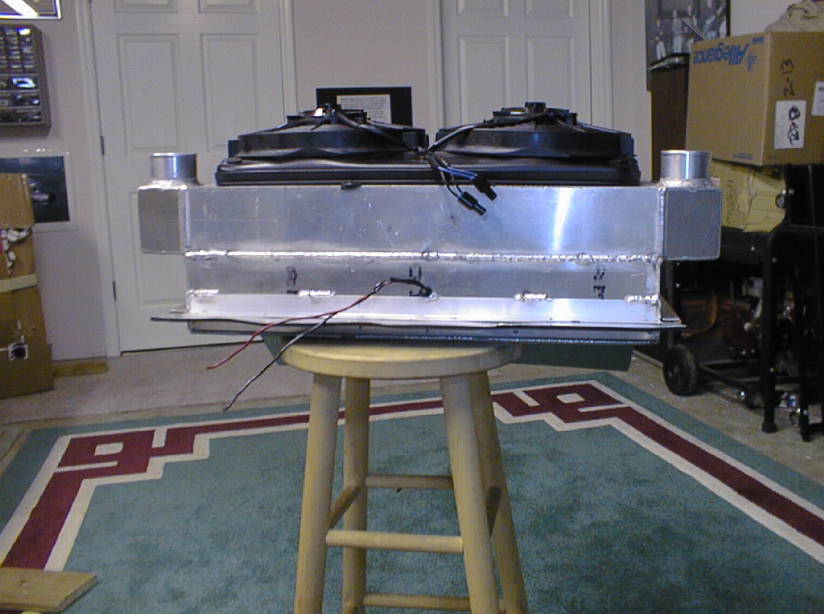
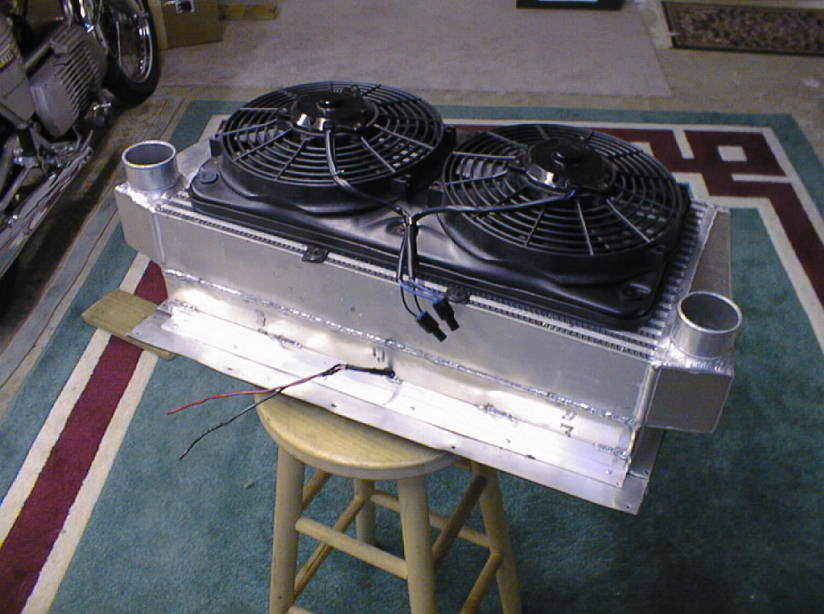
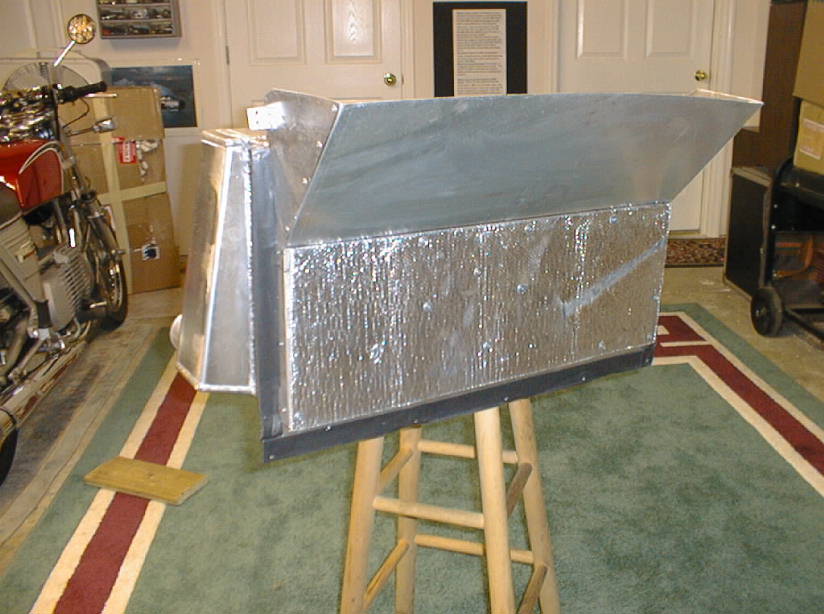
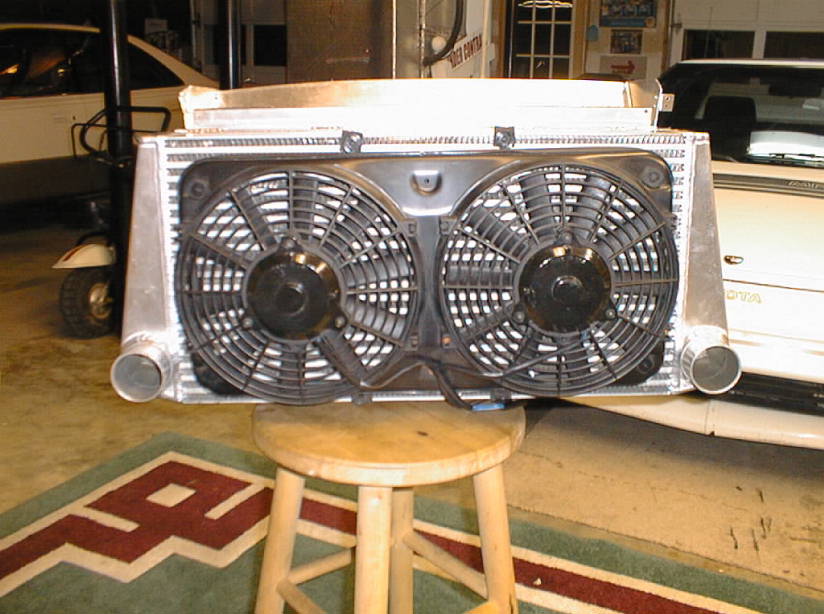
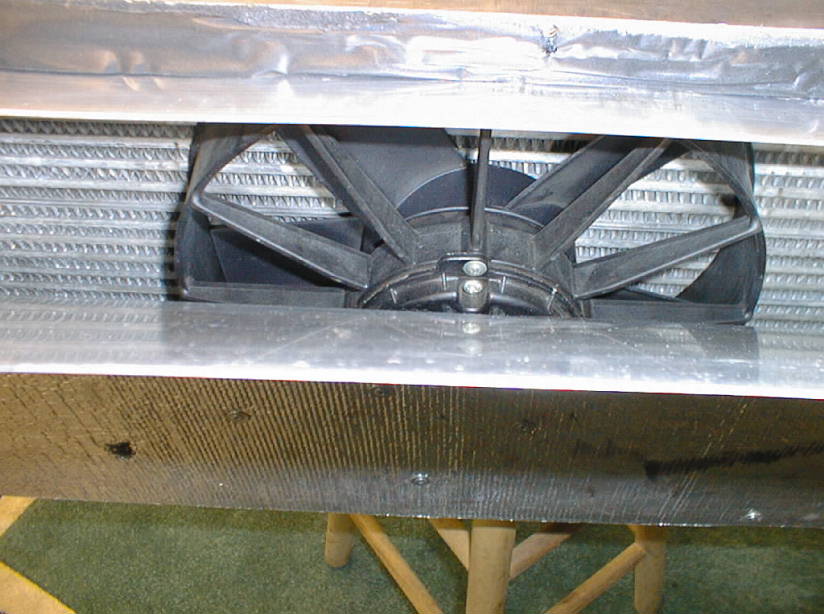
TMIC Photos
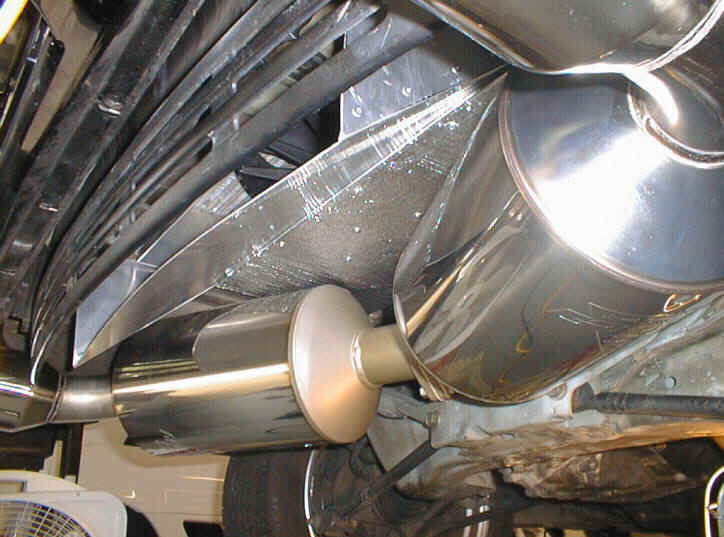
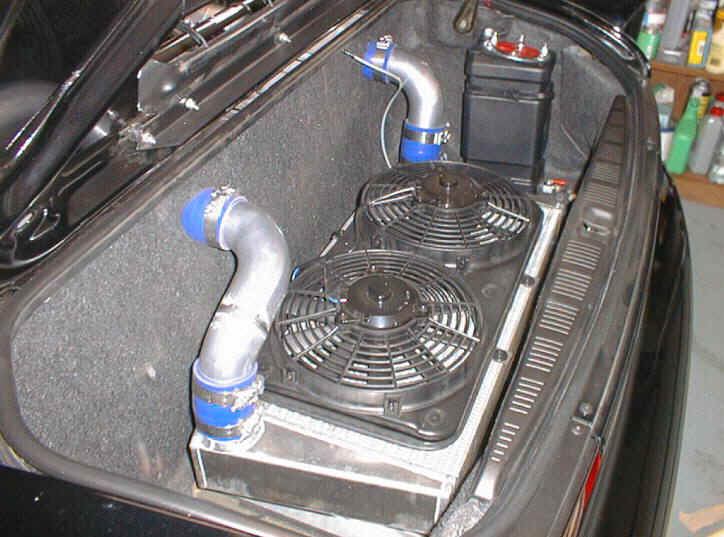
These photos show different views of the TMIC removed from the car. This unit uses three fans. The top fans are easy to see. The high performance SPAL fan on the bottom can be seen in one of the shots which looks inside the bottom scoop. The fans are switched through a relay and controlled individually with dash mounted switches.
It is designed to work with the Greddy PE muffler. The scoop fits between the "V" shaped muffler cans and exits out the metal grill between the exhaust tips.
On the bottom of the scoop is 2000 degree reflective material to help keep heat out of the intercooler.
The two 2.25" Ceramic coated IC pipes are also shown. There are two more Ceramic coated pipes (not shown) which connect the IC to the trunk wall .
The trunk wall has two custom built connectors installed on the engine side of the trunk firewall. These two sections were made to support the IC pipes when using connector hoses. They were made by taking two 5 inch sections of 2.25" mild steel tube (exhaust tubing). 4" sheet metal plates with 2.3" holes were made to slide half way down these pipe sections and spot welded in place. 2.3" holes were cut in the trunk wall at the proper places andthese were then pop riveted to the engine side of the trunk wall.

Aquamist water injection system - August 2000
The Beast Web ///|||\\\ Copyright ©
2000 Jim Griffin. All rights reserved.
E-mail: Ace123Jim@aol.com Web site:
http://www.MR2Beast.com
Last revised October 22, 2002.